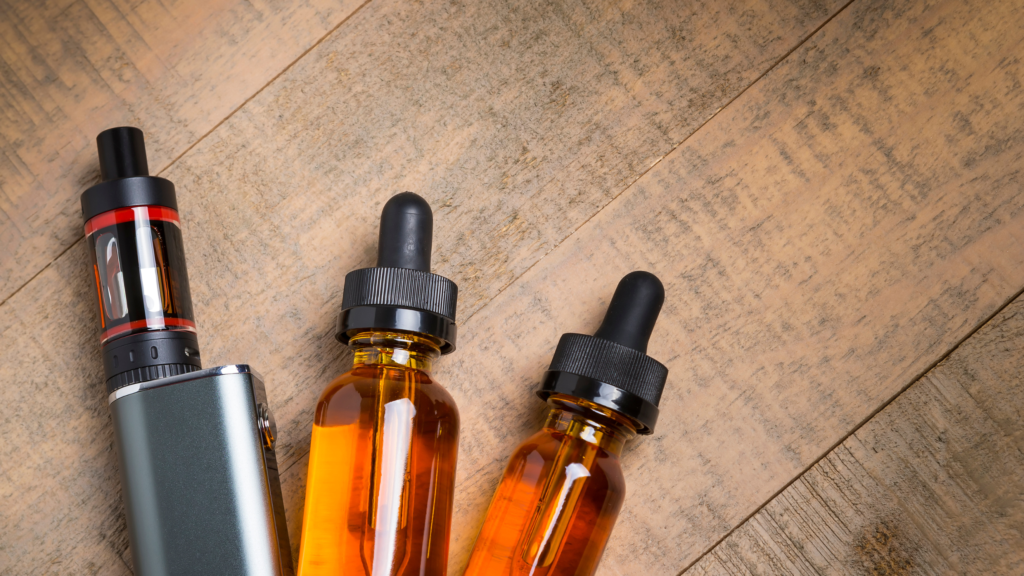
Creating your own e-liquids at home has become an increasingly popular hobby among vaping enthusiasts. Not only does it allow you to save money compared to purchasing pre-packaged liquids, but it also offers a unique opportunity to experiment with custom flavors and create a product tailored to your taste preferences. In this article, we will explore the world of homemade e-liquid recipes, offering practical tips, creative ideas, and suggestions to get started.

1. Materials Needed
Before you begin mixing your own liquids, make sure you have the necessary materials:
- Vegetable glycerin (VG) and propylene glycol (PG) bases
- Liquid nicotine (optional)
- Concentrated flavors
- Mixing bottles
- Syringes and precision needles
- Protective gloves
- Labels to identify your creations
2. Choosing Flavors
The first step in creating a successful recipe is selecting the flavors you want to use. There are thousands of flavors available on the market, ranging from classic fruit and dessert fragrances to more complex and unusual combinations. Explore different options and experiment with various combinations to find the perfect mix for your personal taste.
3. Calculating Proportions
Once you have chosen your flavors, it’s important to calculate the proportions of ingredients accurately to achieve the desired taste and the right balance of VG, PG, and nicotine. Use online calculators or specific software to simplify this process and ensure you get a uniform and balanced mixture.
4. Mixing and Testing
Once you have calculated the proportions, it’s time to mix the ingredients. Wear protective gloves and follow the instructions carefully to avoid mistakes and ensure safety during the mixing process. Once the mixture is complete, it’s advisable to let it rest for a certain period to allow the flavors to fully blend.
5. Recording and Labeling
Once you’ve created your concoction, be sure to accurately record the recipe used, noting the proportions of ingredients and any flavor notes. Label the bottles clearly and legibly to easily identify your homemade liquids and avoid confusion.
6. Testing and Adjustments
Once your liquid is ready, it’s time to test it! Try your liquid on different devices and at different power levels to evaluate its taste and performance. If necessary, make any adjustments to the recipe to tailor it to your personal preferences.
7. Sharing and Community
Finally, don’t forget to share your creations with the vaping community! Participate in online forums, social media groups, and local events to share your recipes, get feedback, and be inspired by other creations.
Creating homemade e-liquids is an art that requires practice, patience, and creativity. With a bit of experience and experimentation, you can create custom liquids that satisfy your taste preferences and offer a unique and fulfilling vaping experience. Happy mixing!
The contents present on the blog “VTI Vape blog” of which the owner of the blog is the author cannot be copied, reproduced, published or redistributed because they belong to the author himself.
Copying and reproduction of the contents in any way or form is prohibited.
The publication and redistribution of contents not expressly authorized by the author is prohibited.
Copyright © 2024 VTI Vape Blog by Matteo Besozzi. All rights reserved.