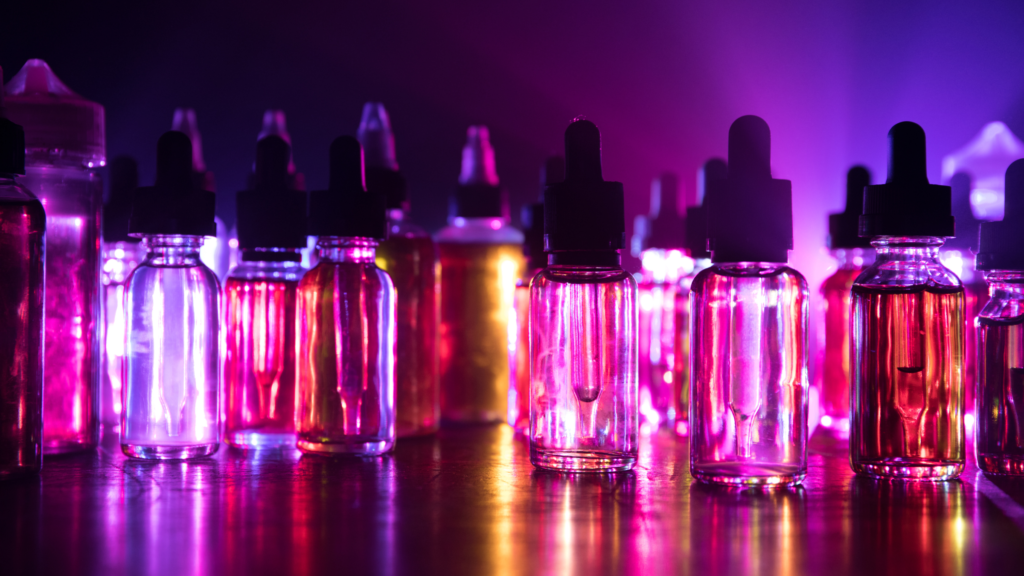
In recent years, DIY e-liquid has become a popular hobby among many vaping enthusiasts.
Since the early days of vaping, people have experimented with different recipes. Today, the mixology community is vast, with thousands of enthusiasts sharing tips and tricks daily.
Whether you’re looking for new flavors, want to learn a new skill, or simply want to save some money, making your own DIY e-liquid can be a great solution, as long as you follow the right steps.

Step 1: Basic Ingredients
Whatever flavor profile you want to create, you’ll need the same basic ingredients. E-liquid is typically made up of Vegetable Glycerin (VG) and Propylene Glycol (PG).
The amount of vapor, throat hit, and the hardware you use will determine the ratio of VG to PG. Make sure you have a good supply of both to find your ideal blend.
- 65:35 VG:PG Ratio: Optimal for sub-ohm vaping.
- 50:50 VG:PG Ratio: Perfect for mouth-to-lung (MTL) devices.
Feel free to experiment: more VG produces larger vapor clouds and a smoother throat hit, while more PG enhances flavor and provides a more discreet vaping experience.
Note: Make sure your VG and PG are pharmaceutical grade (BP in the UK or USP in the US). In the UK, you can find vegetable glycerin at many Boots stores.
Step 2: Nicotine
Many DIY e-liquid makers add nicotine to their blends.
If you’re in the vaping industry or make commercial e-liquids, you might have access to higher nicotine concentrations, which are usually cheaper and more convenient than nicotine shots.
Important: Make sure your nicotine is from reputable sources and TPD-compliant. Commercial concentrations can be bought from reliable wholesalers.
Step 3: Equipment and Environment
Always wear protective gloves when mixing e-liquid.
- Latex or Hygienic Gloves: Minimize skin contact with nicotine and other ingredients.
- Flat, Clean Surface: Ensures the final product is free from contaminants.
There are two common ways to measure ingredients:
- Blunt Tip Syringes: A set ranging from 1-15 ml with 15-gauge blunt needles.
- Advantages: Inexpensive.
- Disadvantages: Time-consuming and requires precision.
- Digital Scale: The American Weigh Scales is accurate to 0.01 g and does not automatically switch to standby mode.
- Advantages: Faster and more accurate.
Step 4: Flavors
There are countless food-grade flavorings available for DIY e-liquids, but it’s best to start with reputable brands. This way, you can easily find flavor notes, pairings, and recommended concentrations.
- Recommended Brands: Capella, Flavour Art, Inawera, The Flavour Apprentice.
Note: Flavor potency varies widely, so do your research or mix small test batches. Avoid oil-based flavorings, as they can be hazardous to your health.
Step 5: Calculate and Mix
Now that you have all the necessary ingredients, it’s time to calculate the quantities and start mixing.
- Steam Engine: An online calculator where you can input all the values you need and get the exact quantities for your first bottle.
Step 6: Maturation
After mixing your first e-liquid, you might be tempted to start vaping it right away.
Sometimes this works, but for heavier flavors like desserts or citrus, it’s best to let your e-liquid mature in a cool, dark place.
- Maturation Time: One week for simple fruit blends, while more complex desserts improve with time.
Conclusion: Creating your own DIY e-liquid can be a rewarding process. With the right ingredients, accurate measurements, and a little patience, you’ll be able to create custom blends that fully satisfy your taste buds.
The contents present on the blog “VTI Vape blog” of which the owner of the blog is the author cannot be copied, reproduced, published or redistributed because they belong to the author himself.
Copying and reproduction of the contents in any way or form is prohibited.
The publication and redistribution of contents not expressly authorized by the author is prohibited.
Copyright © 2024 VTI Vape Blog by Matteo Besozzi. All rights reserved.